My students are going to sew a clamshell block next Thursday. I want to offer them an alternative method how to finish the rounded edge of the clamshell, they will need freezer paper and starch for it.
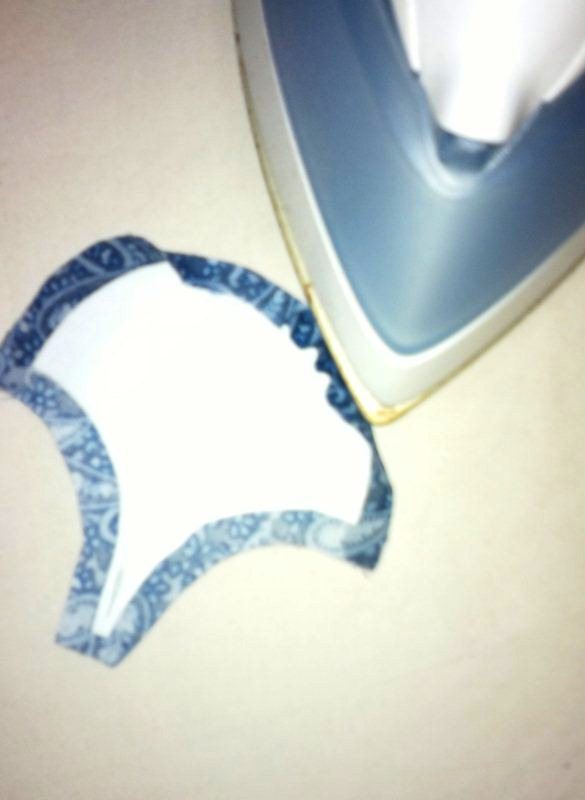
Jäljensin mallineen ilman saumanvaroja freezer-paperille, ja silitin siihen vielä kaksi kerrosta lisää paperia. Leikkasin mallineen irti, tuohon kapeaan kohtaan jätin vähän saumanvaraa, jotta mallinetta on helpompi käsitellä. Silitin mallineen ensimmäisen kankaan nurjalle.
I copied the template to freezer paper and ironed two more layers of paper underneath. I then cut the template from the layered paper and ironed it to the wrong side of the clamshell fabric.

Leikkasin simpukan lisäämällä reunoille n. 6 mm saumanvarat.
I cut the clamshell from the fabric by adding a 1/4 inch seam allowance all around it.

Kaivoin esille Verda-tärkin ja siveltimen.
I took out my Verda starch and a small paintbrush.

Suihkutin tärkkiä pieneen kuppiin ja levitin sitä siveltimellä kaarevan reunan saumanvaraan.
I sprayed starch into a small cup and painted the seam allowance of the rounded edge with strach.

Aloin kääntää tärkättyä saumanvaraa silitysraudan avulla paperimallineen päälle päin. Silittäminen kannattaa aloittaa kaaren keskeltä reunoihin päin.
I took my hot iron and started to turn the seam allowance onto the paper template. Good starting point is the middle of the curved edge.

Ensin kannattaa silittää vain ihan paperin reunan ympäri kääntyvää kohtaa - ei siis koko saumanvaran leveydeltä kerralla. Näin välttää sen. että ne vekit, joita saumanvaraan aina syntyy, eivät ulotu taitereunaan asti, jolloin reunassa ei näy vekin kohdalla pykälää.
The general idea is to iron the seam allowance so that you first iron only quite near to the curved edge - not the whole width of the seam allowance at once. By doing so you can avoid the situation that the pleats that are inevitable won't reach to the edge of the fold, so there will be no "sharp" points on the edge.
Kun sain kaarevan reunan molempiin suuntiin silitettyä kuvan osoittamalla tavalla, niin sen jälkeen painoin raudalla koko simpukkaa kerralla.
Once I got the edge ironed in the way the above picture shows, I pressed the whole clamshell to get the starch to dry all over.

Kun simpukan tärkki on silitetty kuivaksi, irrotetaan paperi, ja tuloksena on terävä, säännöllisen pyöreä käänne.
Then you just take the paper off - and have a nice, even, curved fold at the edge.
Tässä lopputulos nurjalta - demokappaleeni saumanvarat olivat näköjään vähän vaihtelevan levyiset, mutta ulkoreuna on kauniin tasaisen pyöreä.
This demo version of mine has somewhat uneven seam allowances, but the folded edge is perfect.

Tässä sama oikealta puolelta.
Here's the same clamshell from the right side.

Blokkiin tarvittiin kaikkiaan 20 simpukkaa, ja sain ne kaikki tehtyä samalla mallineella, eli paperi tarttui hyvin vielä tähän 21. demokappaleeseenkin - ja tarttuisi vielä muutamaan muuhunkin.
There wer 20 clamshells in total for the block, and I got them all done with the same freezer paper template - the paper fastened well enough even to this 21. demo piece - and would work with some more as well.
Liebe Hannele,
VastaaPoistaDie Methode kenne ich auch, geht schnell und wirkt gut, viel Freude beim unterrichten und liebe Grüße
Hanna
Tämä näyttää kivalta:) Oletko tekemässä näitä enemmänkin ja mitähän niistä syntyy:)
VastaaPoistaMoikka Hannele pikku vinkki- ratkoja terällä painaa( vetää) mallineen reunaa pitkin. Taittuu reuna hyvin silitettäessä
VastaaPoista